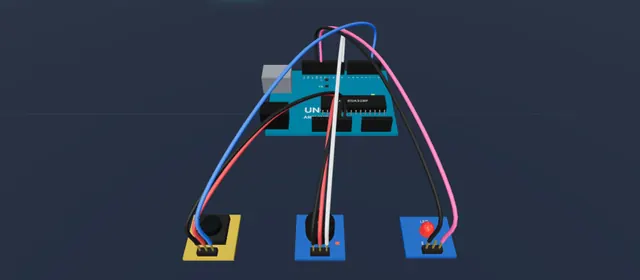
Can I program an Arduino online without a board?
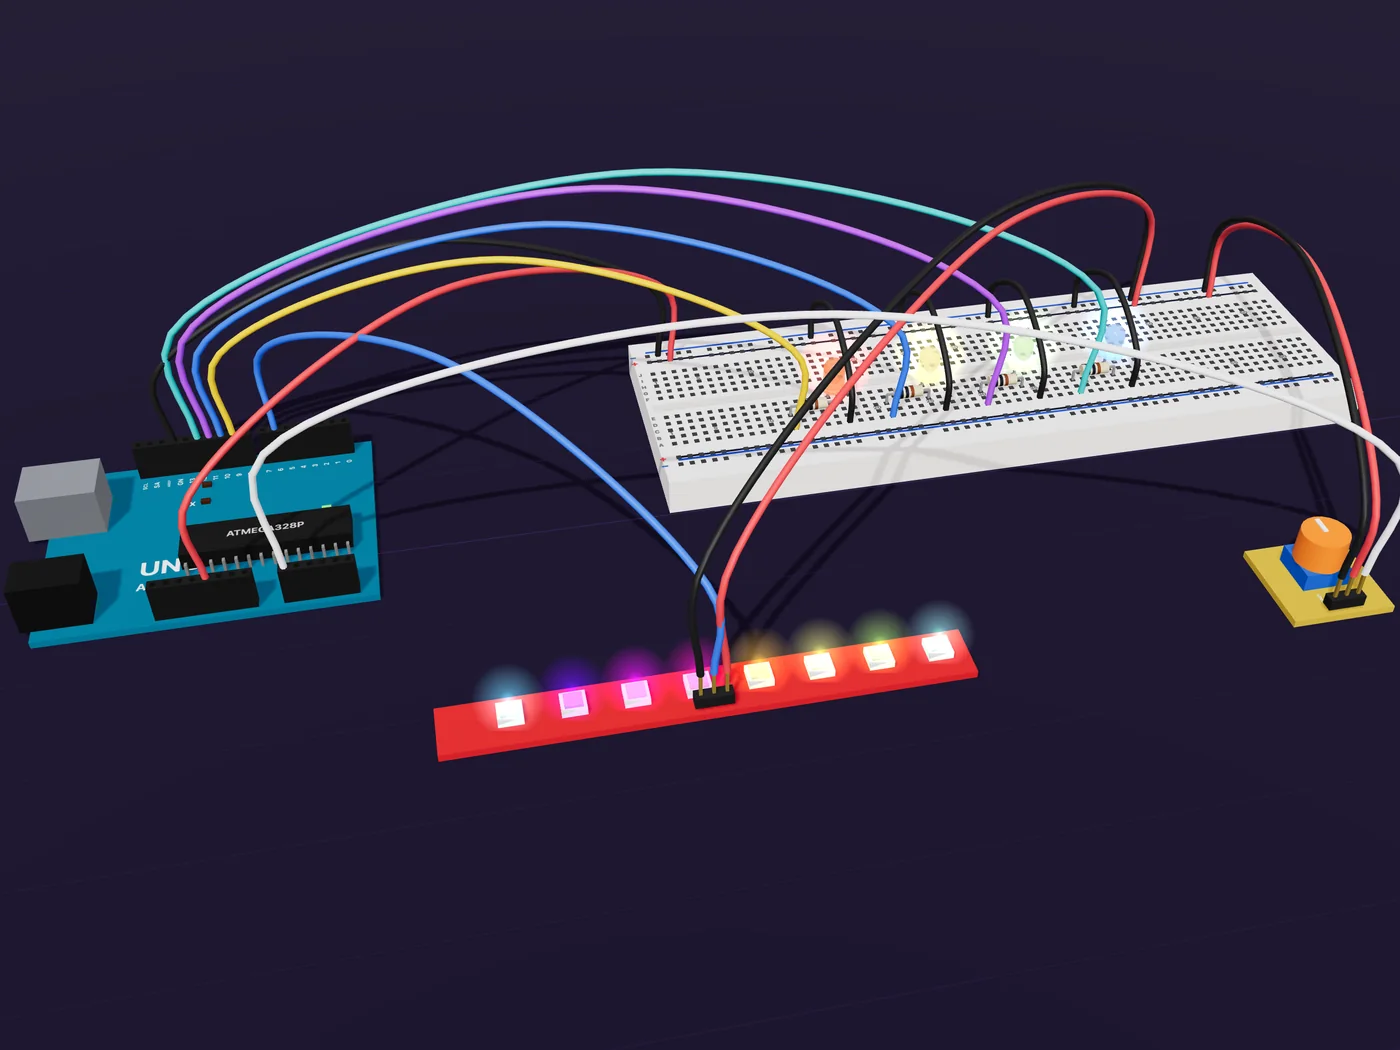
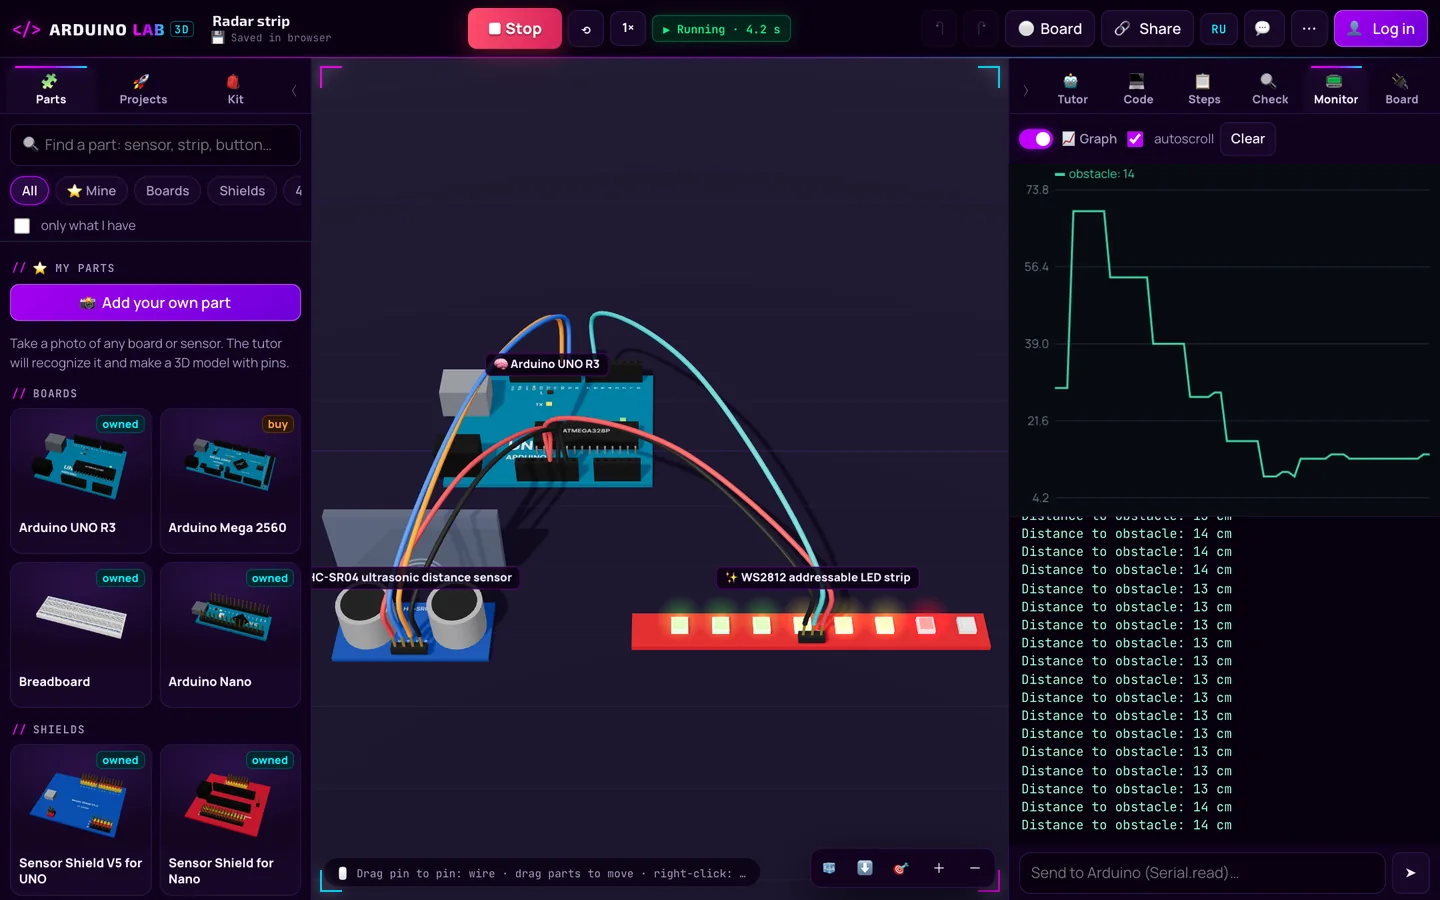
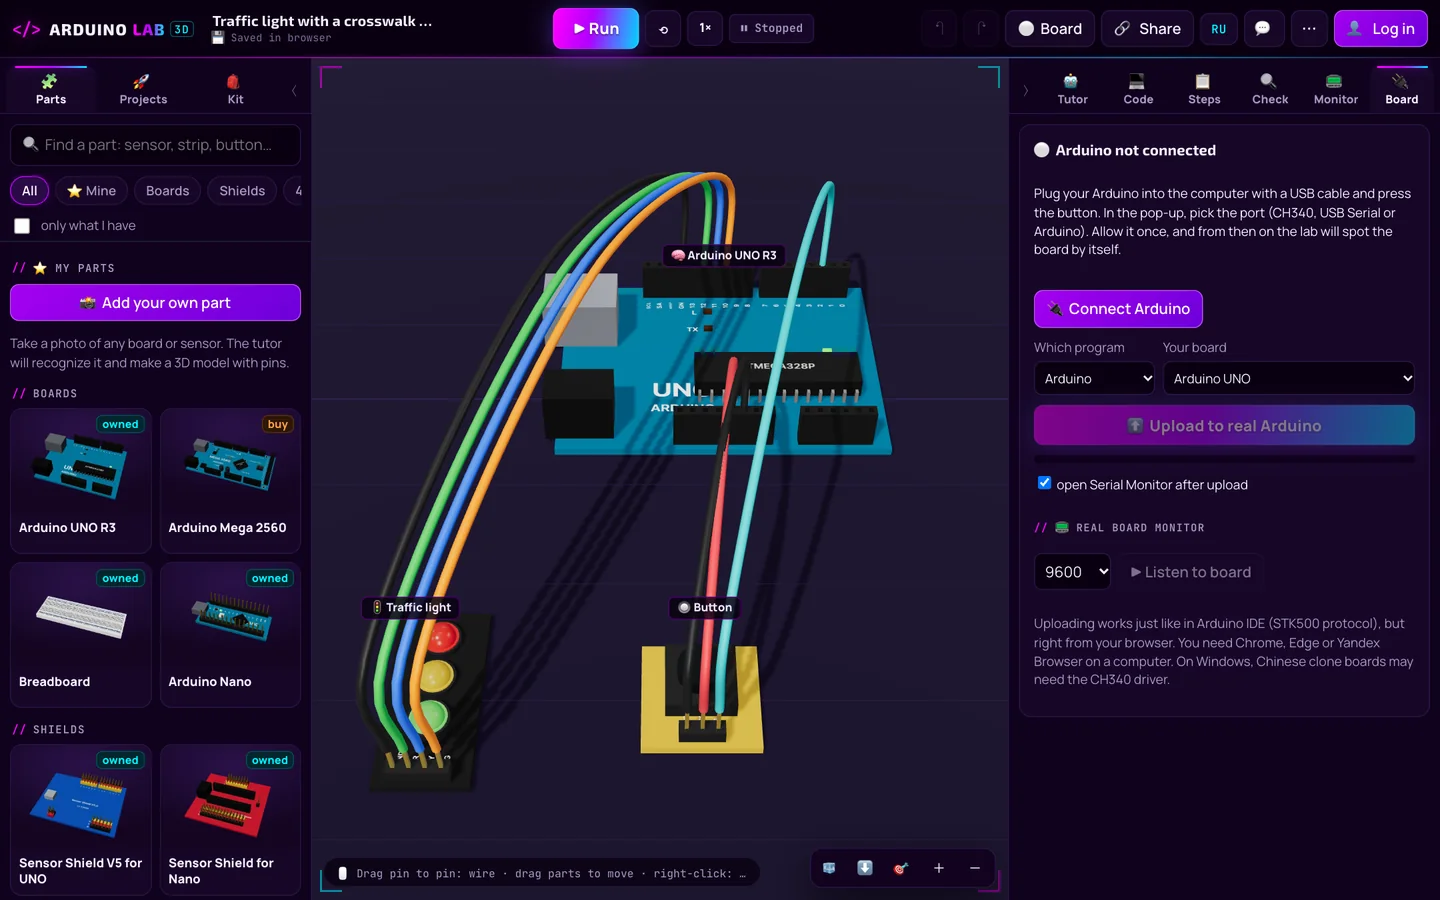
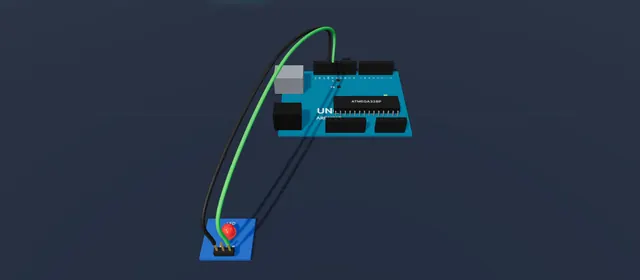
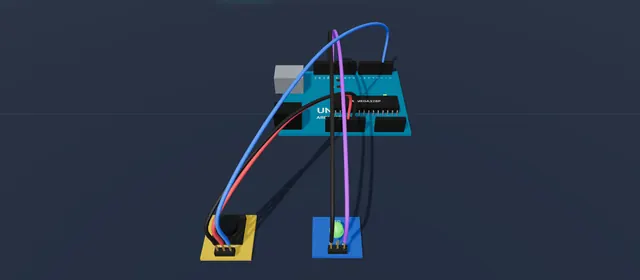
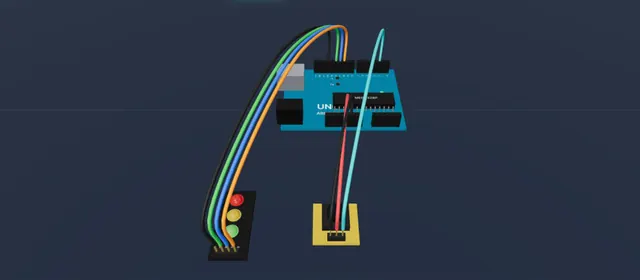
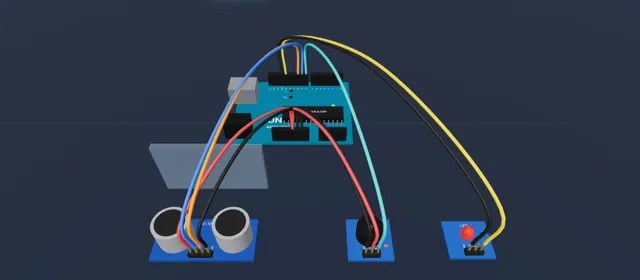
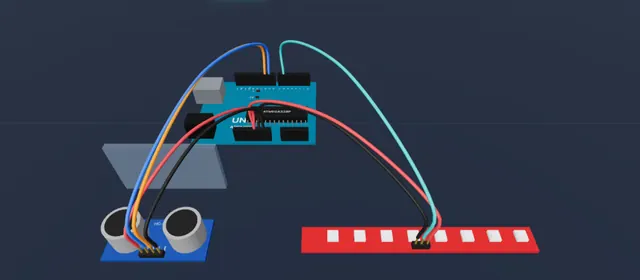
Yes. The lab runs a real emulator of the Arduino processors: the ATmega328P (UNO, Nano) and the ATmega2560 (Mega). Write a program, press “Run” and it executes just like on a board: LEDs blink, the ultrasonic sensor measures distance, the display shows text. You don’t need a board — but if you have one, you can upload the program to it too.
How much does it cost?
The lab is free for now. Without signing up you can build circuits and run programs — projects are saved in your browser. With an account, projects are stored in the cloud, the AI helper answers up to 80 times a day and you can add parts from photos.
Do I need to install the Arduino IDE, drivers or anything else?
No. Everything runs in the browser: the code editor, compilation, simulation and uploading to a real board (in Chrome or Edge on a computer). On Windows, clone boards with the CH340 chip sometimes need the CH340 driver.
What age is the lab for?
It works best for kids aged 9–16. Hints are written in plain language and the helper explains every wire and every line of code. Younger kids are better off starting together with a parent.
Which boards and parts are supported?
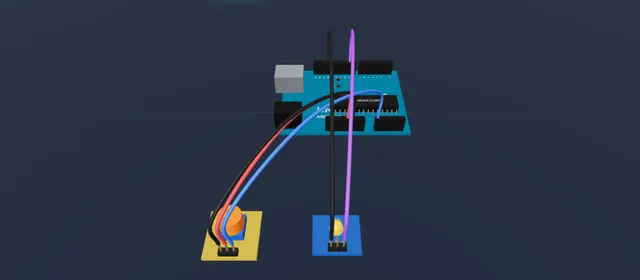
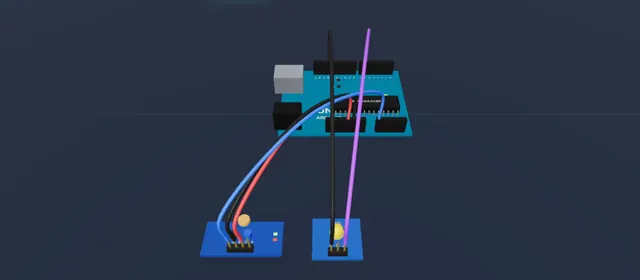
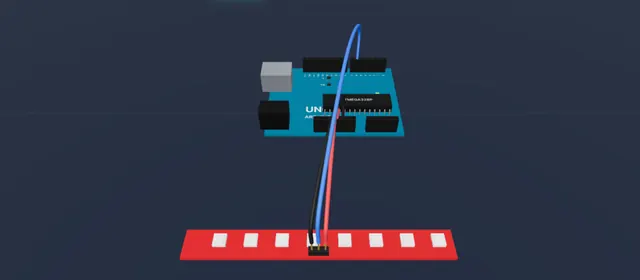
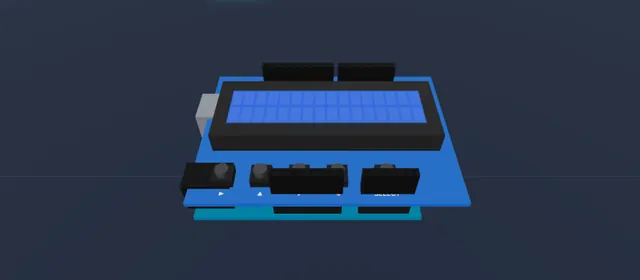
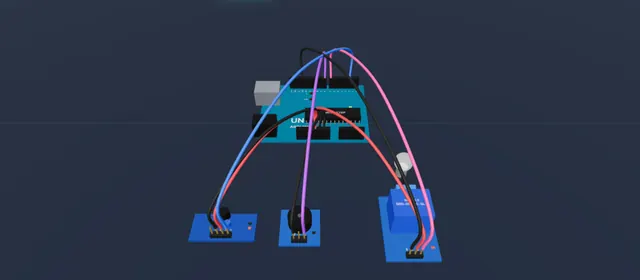
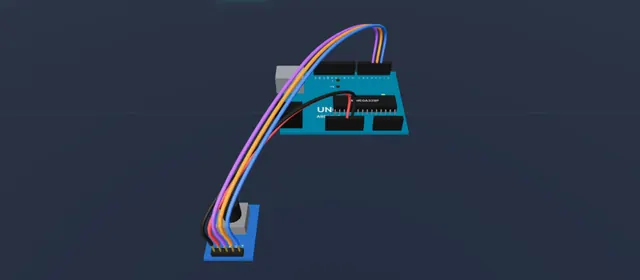
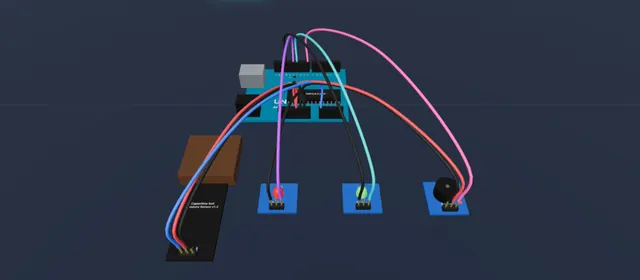
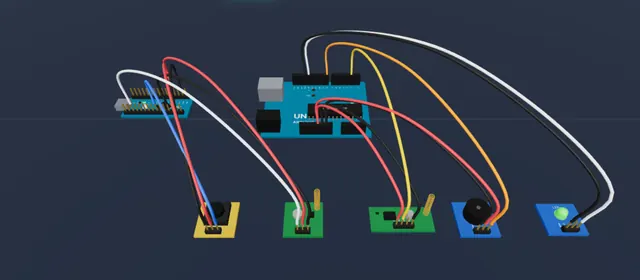
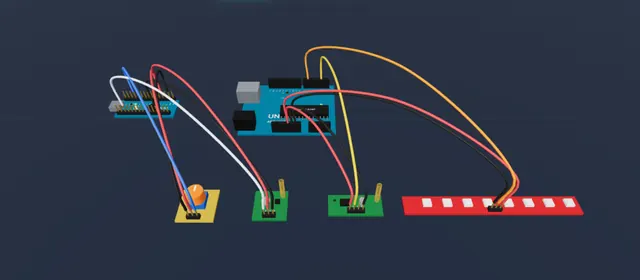
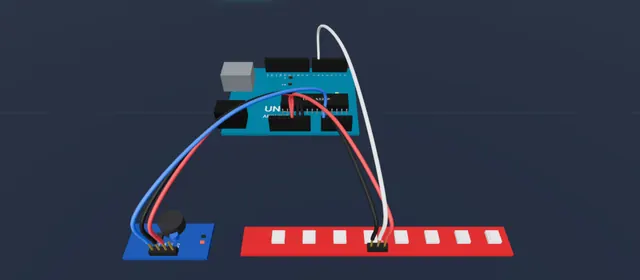
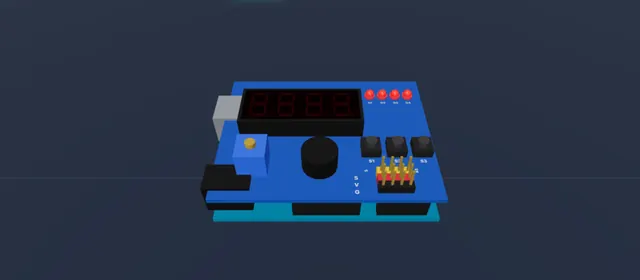
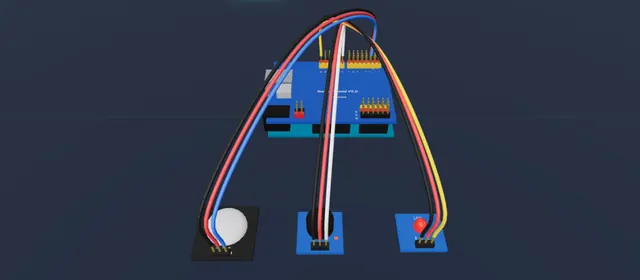
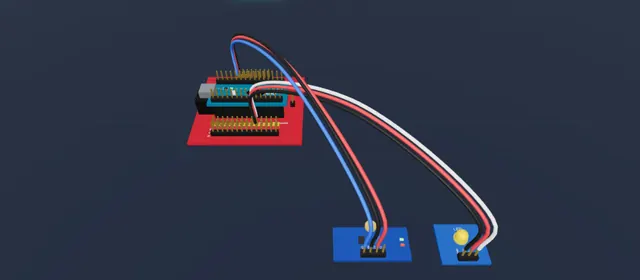
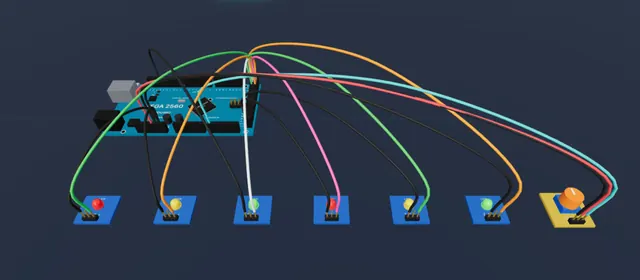
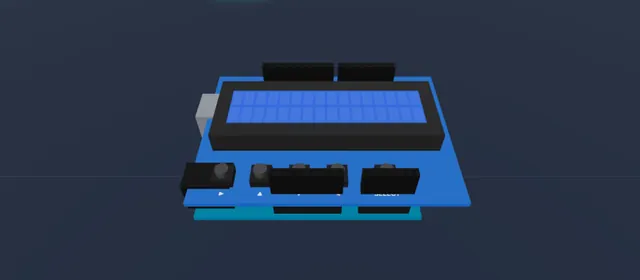
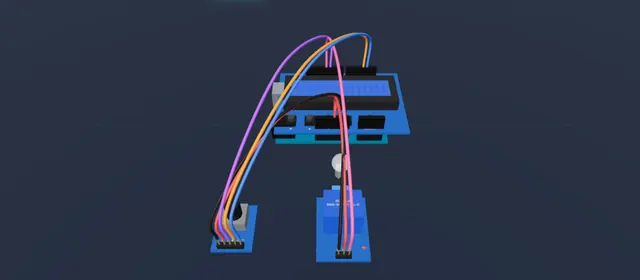
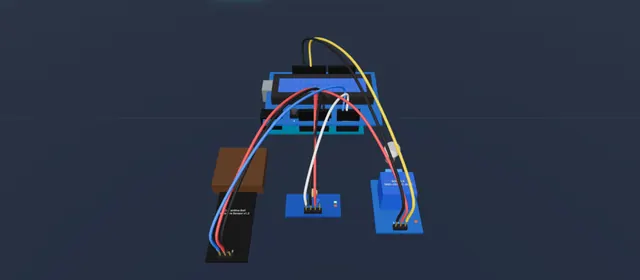
Arduino UNO, Nano and Mega 2560 (you can run several boards at once), the Sensor Shield, LCD Keypad Shield and Multi-function Shield, 433 MHz radio modules and 33 fully simulated parts: LEDs, buttons, the HC-SR04 ultrasonic sensor, WS2812 LED strip, light, sound, flame, gas and soil moisture sensors, a relay, a rotary encoder, a servo and more. The catalog has 1600+ more modules with pinouts, and you can add your own part from a photo.
Can I build the circuit on a breadboard?
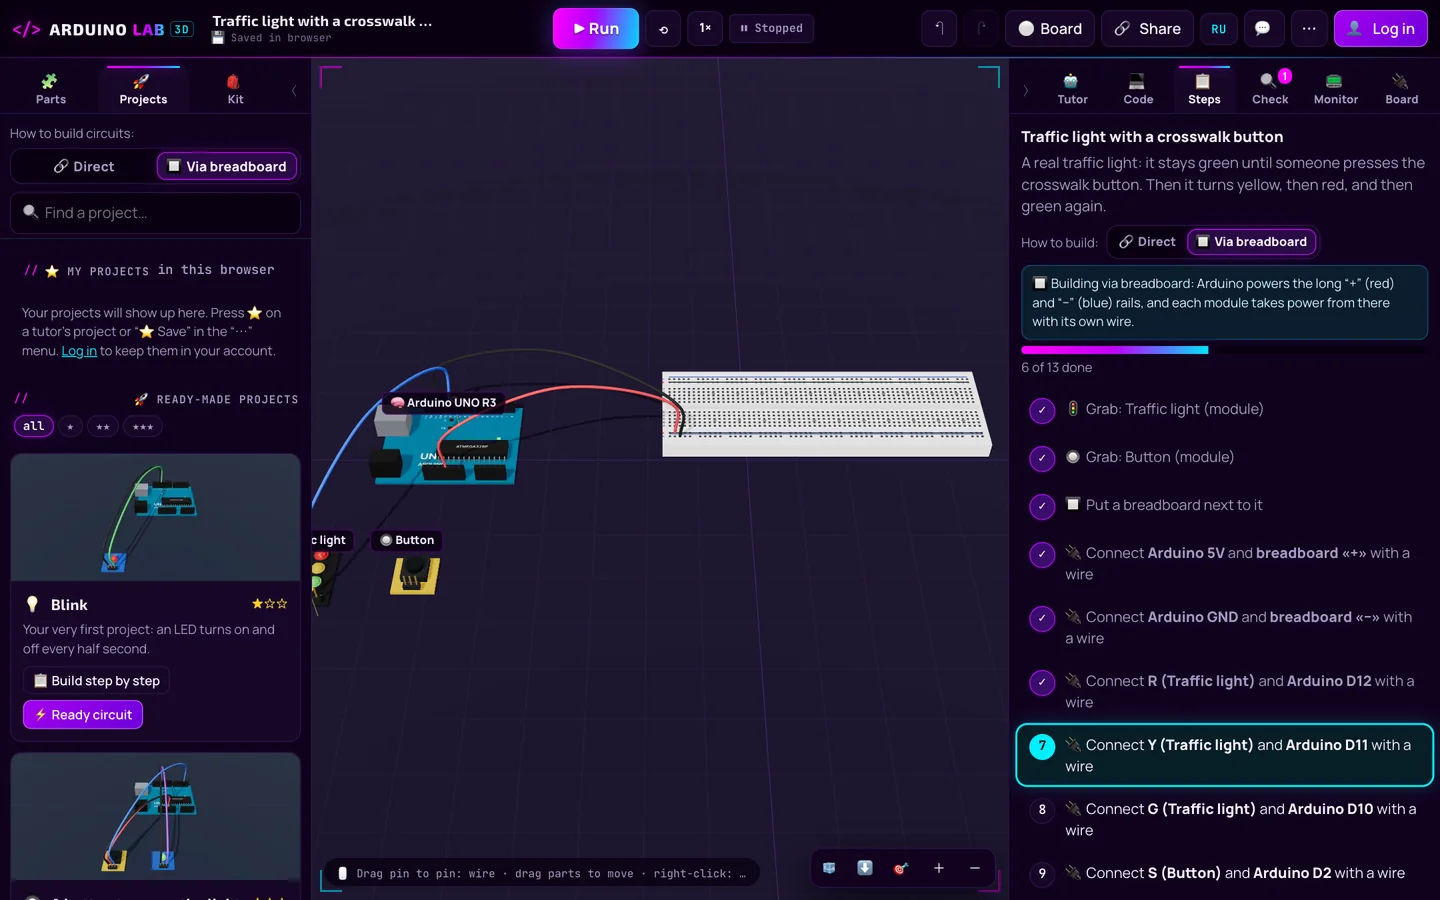
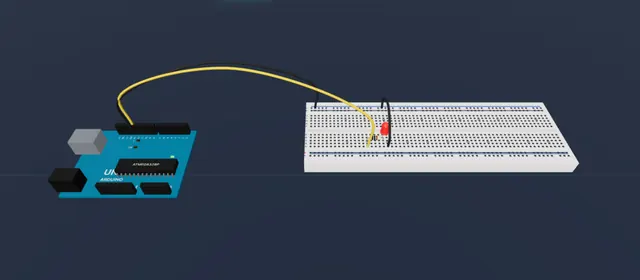
Yes. There is a “How to build” switch: “direct” runs the power wires from each module straight to the Arduino’s 5V and GND; “breadboard” lets the Arduino power the long + and − rails, and the modules take power from there, like on a real bench. Every ready-made project and every project from the AI helper can be built either way, step by step too.
How do I upload a program to a real Arduino from the browser?
Open the “🔌 Board” tab, plug the Arduino in with a USB cable and press “Connect” — the browser shows a list of ports. Then press “Upload to a real Arduino”: the program is compiled on the server and sent to the board over the STK500 protocol, just like from the Arduino IDE. UNO, Nano (including clones with the old bootloader) and Mega 2560 are supported.
How accurate is the simulator?
The processor is emulated instruction by instruction, with timers, PWM, ADC, interrupts and the serial port, so real libraries such as Servo, LiquidCrystal and Adafruit NeoPixel work. Sensors are modelled by how their outputs behave: set the light, distance or moisture with a slider and the Arduino sees the matching signal.
How is it different from Tinkercad and Wokwi?
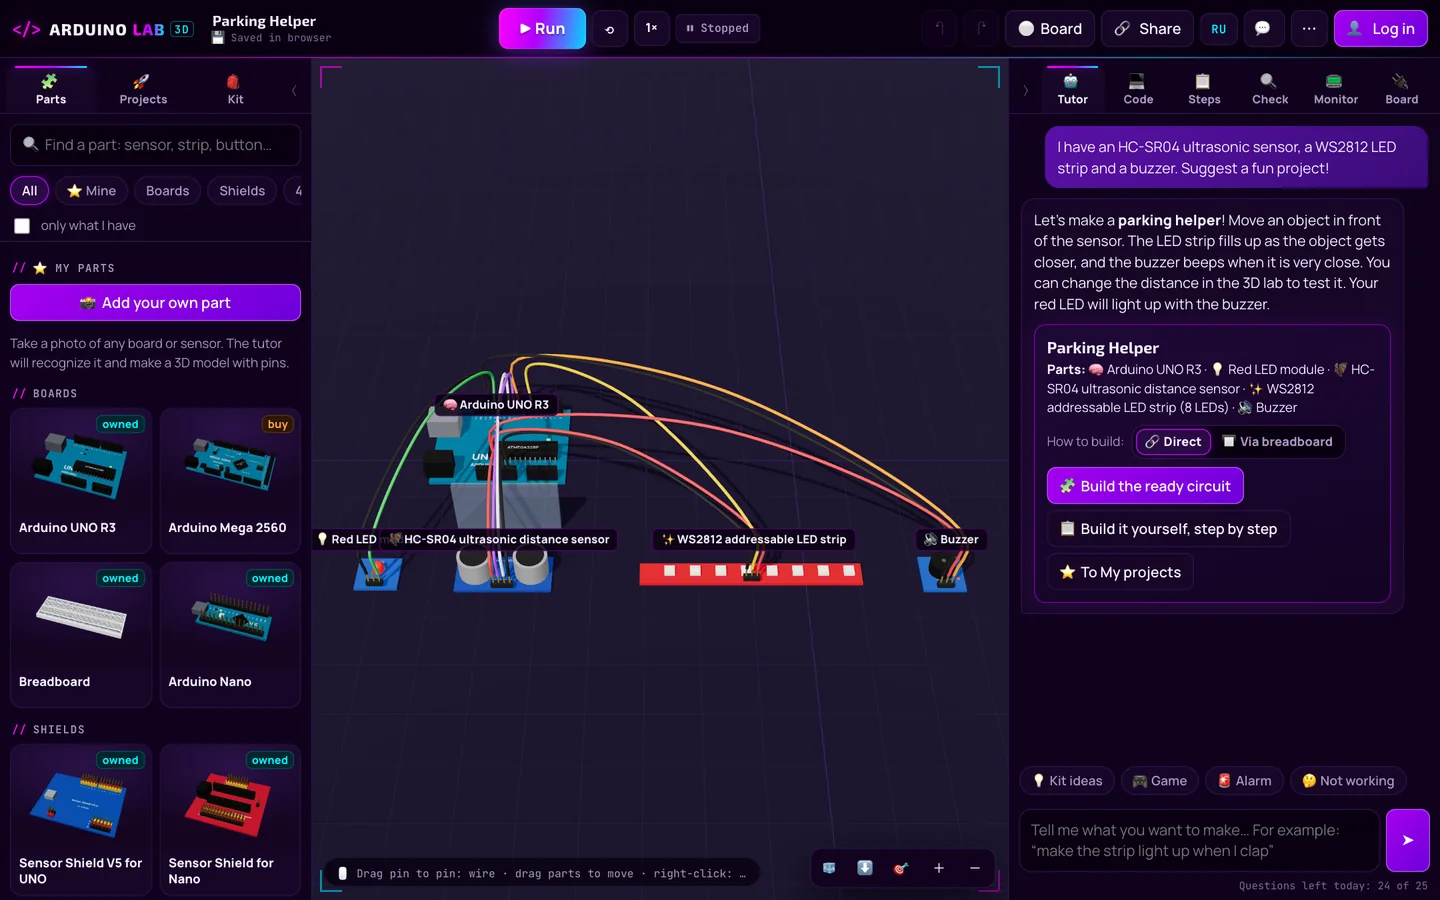
The lab is made for kids and works in English and Russian. It has an AI helper that designs projects from the parts a child actually owns, guides the build step by step and suggests what to buy. You can add your own part from a photo, run two boards that talk over radio and upload a program to a board without installing anything.
What about my child’s data and safety?
An account needs only a username and a password — no email, phone or last name; passwords are stored hashed. The AI helper only talks about electronics and programming. Parts that kids share with everyone appear only after an adult reviews them.
What if my child forgets the password?
When signing up, the lab shows a recovery code — write it down. With the username and this code you can set a new password yourself (the “Forgot your password?” link). If the code is lost, an adult administrator can reset the password.
Can a whole class use it?
Yes. The lab is built for a class sharing one school internet connection: every child has their own account and projects, finished projects can be shared by link, and bug reports and ideas go to an adult, who answers right inside the lab.